Django-CMS #1 PART
Alex Blashchuk | Nov. 20, 2023 | Category: DJANGO
Django-cms is a powerful instrument powered by Django. It’s become easy to create modern and flexible websites that can be edited at any time. Django-cms is a direct competitor to Wordpress, but at the same time has all the advantages of the Django framework.
The setup is incredibly simple. I will set up a project using docker demo image. First of all, install Docker from here.
The demo project is a minimal django project with some additional requirements in the requirements.txt.
Open the terminal application on your computer and go to a safe folder, then:
git clone https://github.com/django-cms/django-cms-quickstart.git
cd django-cms-quickstart
docker compose build web
docker compose up -d database_default
docker compose run web python manage.py migrate
docker compose run web python manage.py createsuperuser
docker compose up -d
During the installation process, you will be prompted to enter your email address and set a username and password. Open your browser and insert http://localhost:8000/admin there you should be invited to login. You will see the following page:
Now our project works well, but Django CMS requires a relational database backend. Each django CMS installation should have its own database. Let’s do this first. Navigate to settings.py file in the backend directory and find a DATABASE_URL and DATABASES variables.
DATABASE_URL = os.environ.get('DATABASE_URL', 'sqlite://:memory:')
DATABASES = {'default': dj_database_url.parse(DATABASE_URL)}
DATABASE_URL contains a database url from the .env-local file. If the file doesn’t contain DATABASE_URL variable, it will be placed default value 'sqlite://:memory:'. So, navigate to the .env-local file and we will change DATABASE_URL variable.
DATABASE_URL=postgres://postgres:password@database_default:5432/db
DEFAULT_STORAGE_DSN=file:///data/media/?url=%2Fmedia%2F
DEBUG=True
DOMAIN_ALIASES="localhost, 127.0.0.1"
SECURE_SSL_REDIRECT=False
Look at DATABASE_URL. It says to use PostgreSQL database, with a username “postgres” and a password “password”, connect to a database “db” via 5432 port. We will leave admin username and password (I STRONGLY RECOMMEND NOT ALLOWING SUCH PASSWORDS IN THE PRODUCTION OF YOUR PROJECT), but change database name to ‘django_cms_blog’.
DATABASE_URL=postgres://postgres:password@database_default:5432/django_cms_blog
DEFAULT_STORAGE_DSN=file:///data/media/?url=%2Fmedia%2F
DEBUG=True
DOMAIN_ALIASES="localhost, 127.0.0.1"
SECURE_SSL_REDIRECT=False
Next, open the docker-compose.yml file, and change the POSTGRES_DB variable in “database_default” service to ‘django_cms_blog’:
  database_default:
    # Select one of the following db configurations for the database
    image: postgres:13.5-alpine
    ports:
      - "5432:5432/tcp"  # allow your local dev env to connect to the db
    environment:
      POSTGRES_DB: "django_cms_blog"
      POSTGRES_PASSWORD: "password"
      POSTGRES_HOST_AUTH_METHOD: "trust"
      SERVICE_MANAGER: "fsm-postgres"

    networks:
      - djangocmsnet

    volumes:
      - ".:/app:rw"
Now let’s rebuild our docker container.
docker compose up -d --build
After the containers were created successfully, we will check logs.
docker ps

docker logs 29a95
docker logs 496d22

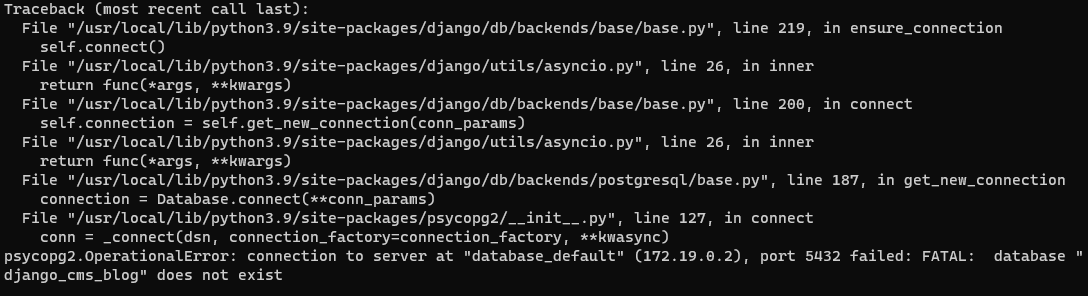
Now we get errors that database ‘django_cms_blog’ does not exist and that’s normal. We haven’t created the database yet. Let’s do it:
docker-compose exec database_default createdb -U postgres -W django_cms_blog

Enter password of your PostgreSQL, make migrations and create new super user.
docker-compose run web python manage.py migrate
docker-compose run web python manage.py createsuperuser

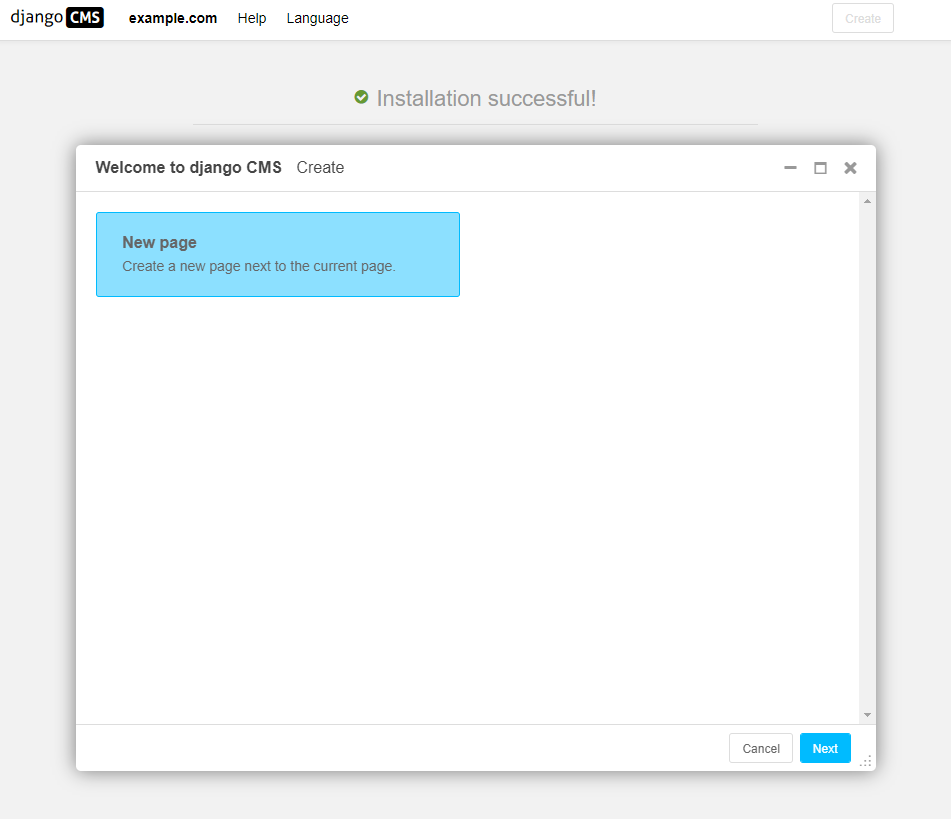
Now rebuild your containers again, open your browser and insert http://localhost:8000/admin. After successful login you will see a welcome page.
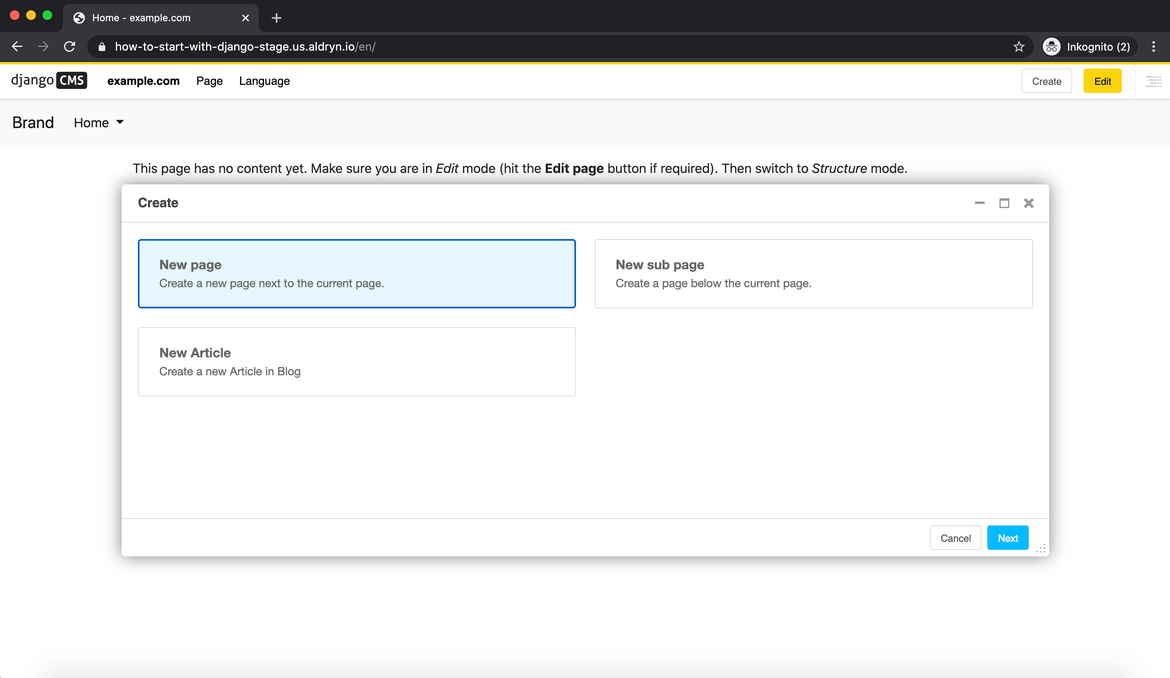
Now you can create and publish your first page. In the next chapter, we will add a custom HTML template and create the first application.